
Writing a Python Web Server From Scratch - Part 2: WebSocket
Following the first Post on the “Writing My Own Web Server” series, now we’re going to find out more about the WebSocket protocol.
It allows applications to establish a persistent full-duplex connection between server and client, and this enables a series of interesting possibilities.
As always, you can choose to jump right into the repository and see the code for yourself or read this article before. It’s up to you.
WebSocket use cases
Any web application that needs some kind of real-time interactivity can benefit from the use of WebSockets. Bellow, there’s a list with some areas:
- Chatting
- Online games
- Financial applications
- Social feeds (for news, tweets, etc)
- Collaborative editing of documents
As of today, all modern browsers support the WebSocket protocol.
Creating a test application
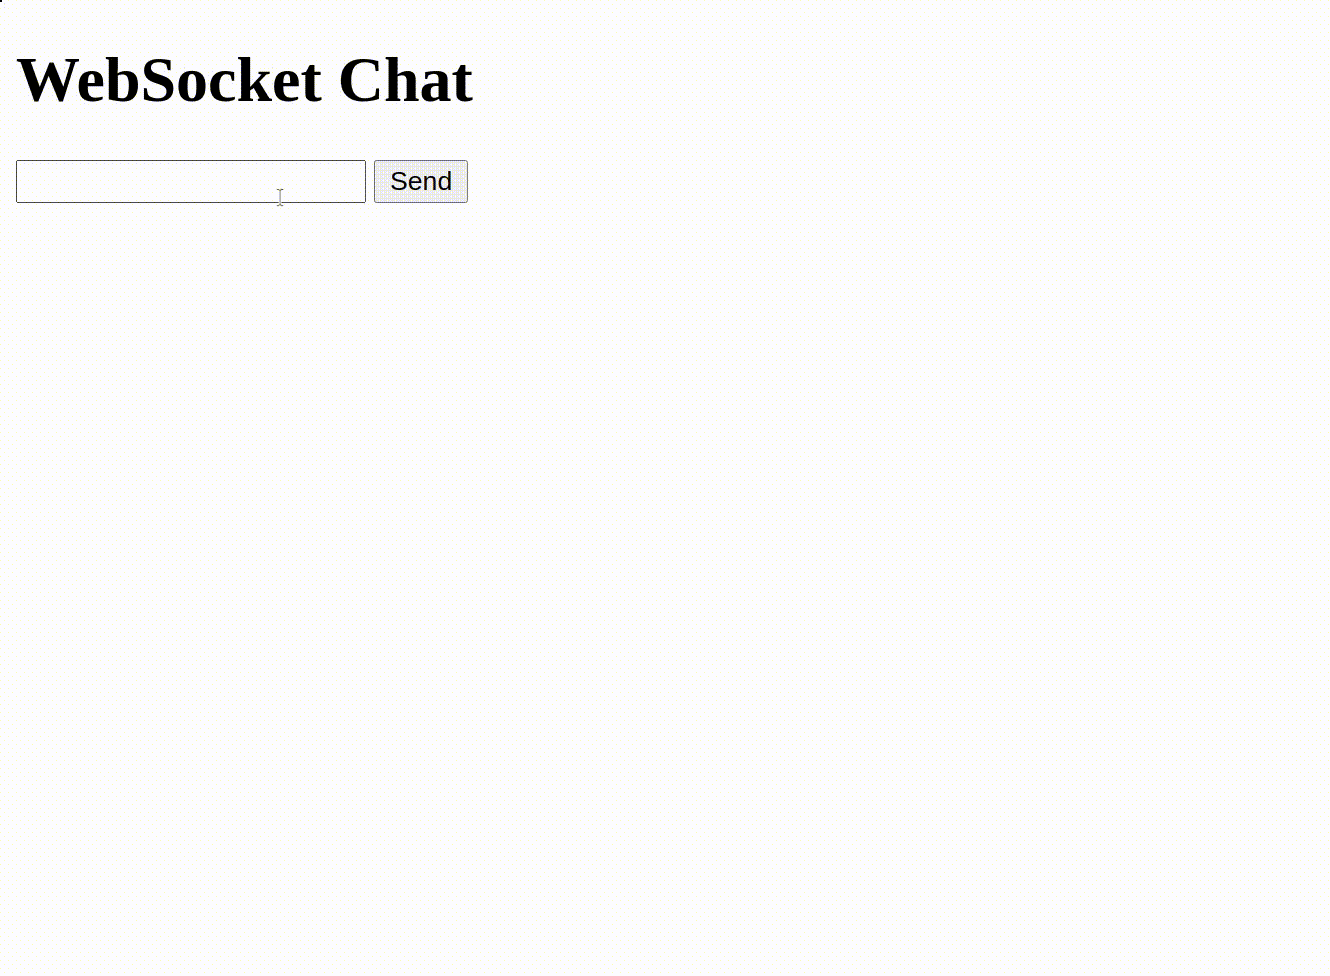
My goal with this project was to get a basic Websocket echo server working. This is basically the same example that the FastAPI project provides to showcase how to use websockets with the framework.
An input field is presented for the user to type some text, and when its contents are sent by the client, the server echos it back. The client appends each response of the server on the screen.
from fastapi import FastAPI, WebSocket
from fastapi.responses import HTMLResponse

import server as uvicorn

app = FastAPI()

@app.get("/")
async def root():
    # Setup basic page structure and JS to handle the WS connection
    html = """<html></html>"""  # The complete HTML is in the repo
    return HTMLResponse(html)

@app.websocket("/ws")
async def websocket_endpoint(websocket: WebSocket):
    await websocket.accept()
    while True:
        data = await websocket.receive_text()
        await websocket.send_text(f"Message text was: {data}")

if __name__ == "__main__":
    uvicorn.run(app, host="127.0.0.1", port=8000)
How the protocol works
The process of connection starts with the handshaking phase.
Handshake
After connecting to the server, the client sends a regular HTTP GET request with some special headers to denote its intention of upgrading the connection to the WebSocket mode.
GET /chat HTTP/1.1
Upgrade: websocket
Connection: Upgrade
Sec-WebSocket-Key: dGhlIHNhbXBsZSBub25jZQ==
Sec-WebSocket-Version: 13
At this point, the server might either accept or refuse the upgrade attempt. In order to accept, it must return a response with the following format:
HTTP/1.1 101 Switching Protocols
Upgrade: websocket
Connection: Upgrade
Sec-WebSocket-Accept: s3pPLMBiTxaQ9kYGzzhZRbK+xOo=
Frame format
Once the handshake is done, the communication channel switches to using a standard binary frame format to exchange messages:
 0                   1                   2                   3
 0 1 2 3 4 5 6 7 8 9 0 1 2 3 4 5 6 7 8 9 0 1 2 3 4 5 6 7 8 9 0 1
+-+-+-+-+-------+-+-------------+-------------------------------+
|F|R|R|R| opcode|M| Payload len |    Extended payload length    |
|I|S|S|S|  (4)  |A|     (7)     |             (16/64)           |
|N|V|V|V|       |S|             |   (if payload len==126/127)   |
| |1|2|3|       |K|             |                               |
+-+-+-+-+-------+-+-------------+ - - - - - - - - - - - - - - - +
|     Extended payload length continued, if payload len == 127  |
+ - - - - - - - - - - - - - - - +-------------------------------+
|                               |Masking-key, if MASK set to 1  |
+-------------------------------+-------------------------------+
| Masking-key (continued)       |          Payload Data         |
+-------------------------------- - - - - - - - - - - - - - - - +
:                     Payload Data continued ...                :
+ - - - - - - - - - - - - - - - - - - - - - - - - - - - - - - - +
|                     Payload Data continued ...                |
+---------------------------------------------------------------+
The frame contains several flags and control fields which I’ll cover later. For now, let’s start by worrying about the opcode field only. It defines what kind of payload this frame carries. The most essential values are:
- 0x1: Payload contains UTF-8 encoded text
- 0x2: Payload contains a binary string (a bytes array)
- 0x8: A control frame for connection close. Payload may contain the close status code
The ASGI standard for WebSocket connections
Scope format
The scope dictionary for Websocket connections follows the same format as HTTP connections, being the "type" used to distinguish them. Notice also that Websocket connections use a different schema format: instead of http and https, it uses ws and wss for standard and encrypted connections respectively.
{
    "type": "websocket",
    "asgi": {"version": "3.0"},
    "http_version": "1.1",
    "scheme": "ws", # wss when using encrypted connection
    "path": "/ws",
    "query_string": b"q=search",
    "headers": [
        [b"accept-language", b"en-US,en;q=0.9,pt-BR;q=0.8,pt;q=0.7"],
    ],
}
Event types sent by the server
"websocket.connect": A client is attempting to establish a connection"websocket.receive": The client sent a data frame"websocket.disconnect": The client is closing the connection
Event types sent by the application
"websocket.accept": The application accepted the connection"websocket.send": The application is sending data"websocket.close": The application is closing the connection
Extending the server to handle WebSockets
With this brief introduction of how the protocol works, let’s get into the server implementation. I’m going to show some snippets of the source code to demonstrate the general outline of the solution.
The first thing the server needs to do, upon receiving a connection request, is to determine its type. It can be either a regular HTTP request or a Weboscket connection. This can be done by inspecting the headers section, as described earlier.
async def build_scope(reader):
    # ...

    if (
        method == "GET"
        and "Upgrade" in dict_headers.get("connection", "")
        and dict_headers.get("upgrade") == "websocket"
    ):
        sec_websocket_protocol = dict_headers.get("sec-websocket-protocol", "")
        subprotocols = [proto.strip() for proto in sec_websocket_protocol.split(",")]
        scope.update({"type": "websocket", "subprotocols": subprotocols})
    else:
        scope.update({"type": "http", "method": method})

    return scope
With the request scope assembled, the server can invoke the appropriate handler, being either http_handler or websocket_handler, and yield control to the application.
async def handler(app, reader: asyncio.StreamReader, writer: asyncio.StreamWriter):
    scope = await build_scope(reader)

    if scope["type"] == "http":
        await http_handler(app, scope, reader, writer)
    elif scope["type"] == "websocket":
        await websocket_handler(app, scope, reader, writer)
For the purposes of this post, we’re gonna focus on the Websocket handler only. Details about the HTTP handler were already discussed in the previous article.
The Websocket handler
As the ASGI standard states, a websocket server must provide the receive() and send() methods alongside the scope dictionary to the application. This is the same as the HTTP server implementation, but the main difference we have to account for here is the stateful nature of the connection.
That means, there is the possibility of multiple messages being exchanged between the server and client across the lifetime of a single connection. Also, each message sent by one of the parties doesn’t require the other party to send any kind of response.
When we consider this, the separation of send and receive cycles proposed by the ASGI standard start making much more sense.
The basic layout of the coroutine is as follows.
async def websocket_handler(app, scope, reader, writer):
    async def receive():
        # ...
        return event

    async def send(event):
        # ...

    # Invoke the app!
    await app(scope, receive, send)
It all starts with the handshaking process. Let’s check it out.
Finishing the handshake process
The first time receive() is called by the application, a "websocket.connect" event is returned to denote the beginning of the handshake process. At this point, the app can either accept or deny the connection by sending a "websocket.accept" or "websocket.close" event, respectively.
Once the upgrade is accepted and the handshake process is finished, both parties will start exchanging messages in the new binary frame format. These frames can carry control or data messages, and in the case of data messages, the payload’s format can be either text or binary.
Frame header parsing
Now it’s the time we’re gonna have to play with Python’s capabilities for handling binary data. To parse the frame headers, I’ve chosen to use the built-in struct module.
For example, in the code section below, the module is used to get some control flags, the frame type opcode, and the payload length.
async def read_websocket_frame(reader):
    # Read frame header
    header = await reader.read(2)

    unpacked = struct.unpack("<BB", header)
    fin = (unpacked[0] & (1 << 7)) > 0
    opcode = unpacked[0] & 0x0F
    mask = (unpacked[1] & (1 << 7)) > 0
    payload_len = unpacked[1] & 0x7F

    # ...
There is a catch with the payload length that you can check on the complete version of the code. Basically, if the length is greater than 125, which accounts for the 7-bit size limitation of the field, the server needs to read the real payload length from another region. In that case, the field can have either 2, or 8 bytes in size.
async def read_websocket_frame(reader):
    # ...

    if payload_len == 126:
        l = await reader.read(2)
        u = struct.unpack("<H", l)
        payload_len = u[0]
    elif payload_len == 127:
        l = await reader.read(8)
        u = struct.unpack("<Q", l)
        payload_len = u[0]

    # ...
Payload masking
When receiving messages from the client, the server expects their payloads to be masked using XOR encryption. Before delivering this data to the application we must read the masking key and decrypt it.
async def read_websocket_frame(reader):
    # ...

    if mask:
        masking_key = await reader.read(4)

    payload = await reader.read(payload_len)

    if mask:
        payload = bytes(payload[i] ^ masking_key[i % 4] for i in range(len(payload)))

    return fin, opcode, payload
Handling the opcodes
As we are only supporting 3 different opcodes, the implementation is pretty straightforward. Just bear in mind that we need to decode the contents of the payload when dealing with messages in "text" format.
async def websocket_handler(app, scope, reader, writer):
    # ...

    if opcode == 1:
        event = {"type": "websocket.receive", "text": payload.decode()}
    elif opcode == 2:
        event = {"type": "websocket.receive", "bytes": payload}
    elif opcode == 8:
        close_code = 1005  # Default
        if len(payload):
            u = struct.unpack(">H", payload)
            close_code = u[0]
        return {"type": "websocket.disconnect", "code": close_code}

    # ...
Messages fragmentation
Just as a side note, the protocol allows for messages to be fragmented among consecutive frames, this is what the FIN flag is used for. We’re not going to support this though.
The send cycle
All we’ve covered by now was related to the process of the server receiving messages and delivering them to the application.
On the other hand, when the app sends messages to the client, a very similar process happens.
As there was nothing particularly interesting or new about the implementation of this part, I’ll leave it to the reader to check this out directly in the repository.
Conclusion
With this post, I’ve concluded the Building My Own Web Server series. The code presented here, despite not being a full-blown Websocket server, was all I had to do to get a working echo server in Chrome.
Hopefully, the information and insights provided can be helpful to demystify what happens under the hood when your web app interacts with the browser. There is nothing magical about this process, and you don’t need to be a wizard to be able to understand it.
I recommend checking out the references below if you want to know more the subject.
References
- An awesome guide from Mozilla explaining how to implement the protocol
- RFC for The WebSocket Protocol
- ASGI Version 3.0